Setup Pihole On Raspberry Pi
Overview
It's estimated around 25% of web traffic is advertisements and/or trackers. Once Pihole is setup, it acts like a DNS resolver and will block these ads and/or trackers at the DNS layer. What this means is that this traffic doesn't even reach your client.
Requirements
- Any generation of Raspberry Pi
How to setup OS on Raspberry Pi
- Download Raspberry Pi OS (32-bit) Lite (previously known as 'Raspbian Buster Lite')
- My recommendation is to use the smallest OS called Raspberry Pi OS (32-bit) Lite, because it's optimized for headless installations.
- This will download xxxx-xx-xx-raspios-buster-lite-armhf.zip
- Insert at least 8GB microSD. (Source)
- This is where OS will be installed on, and this microSD will always be inside Raspberry Pi.
- Download balenaEtcher (free)(for windows, mac, linux)
- Install and run it
- Select Flash from file*
- Browse to location of xxxx-xx-xx-raspios-buster-lite-armhf.zip, select it
- Insert microSD and select it.
- Select Flash
- Now you can insert microSD into Raspberry Pi
Connect cables to Raspberry Pi
- You'll need to hook up the following:
- monitor (not needed past the initial install)
- keyboard (not needed past the initial install)
- network cable
- power cable
Power on Raspberry Pi
Once it boots, login as username/password:
pi/raspberry
How to enable SSH on Raspberry Pi
tip
My personal recommendation is to enable SSH in order to continuing the installation remotely.
- From Raspberry Pi, in the terminal, enable SSH:
note
Remember the IP address.
Connect to Rasbperry Pi via SSH
From another computer on same network, using your favorite SSH client (I use Putty for Windows):
- IP of Raspberry Pi
- Username/password:
pi/raspberry
Change to root:
Install updates:
Setup Static IP for Raspberry Pi OS
Let's verify the static IP.
You’ll need to edit the numbers in the snippet so they match your network configuration.
Static IP:
192.168.1.222(this is my static IP)
Static Router:
192.168.1.1(this is the gateway IP, aka the IP of the firewall)
Static Domain Name Servers (aka DNS):
192.168.1.1(this is the gateway IP, aka the IP of the firewall)1.1.1.1(this could be a public DNS server)192.168.1.222(in theory, this should be IP of itself)
Press Ctrl+O to write the changes, press enter, then Press Ctrl+X to exit.
Reboot to save changes:
Installing Pihole
Install Pihole, with this command. (Source)
- Select OK 3 times
- Select Upstream DNS Provider
- Select Google (leave as is, we can change later)
- Select OK
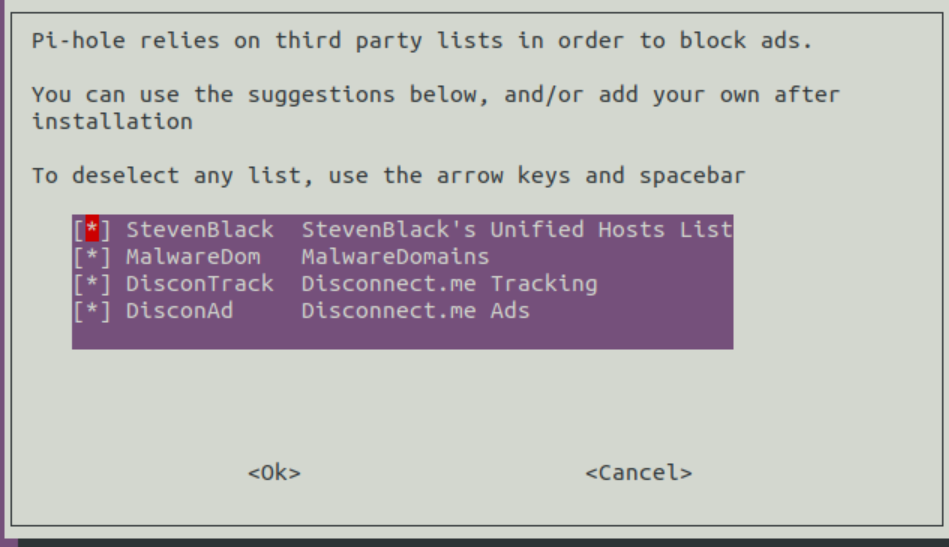
- Press Ok for list of ads
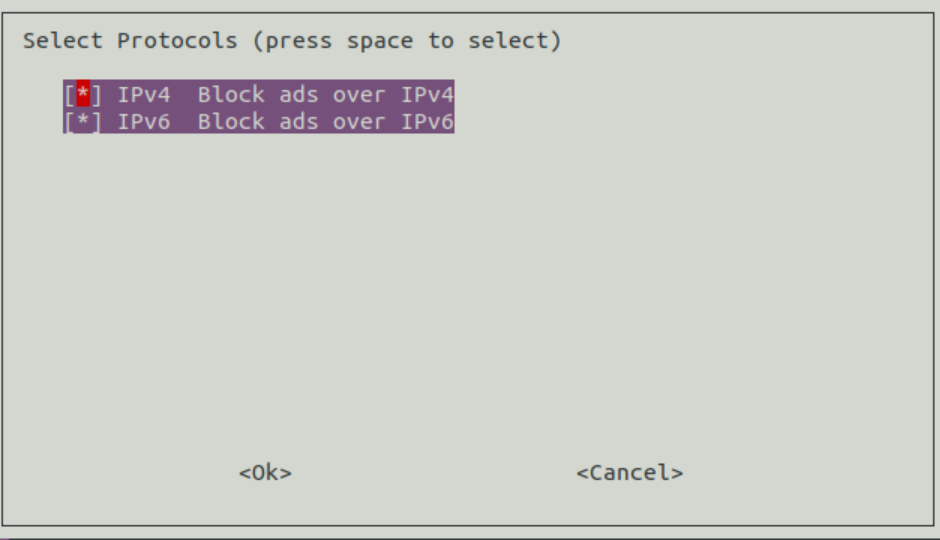
- Press Ok for IPv4/IPv6
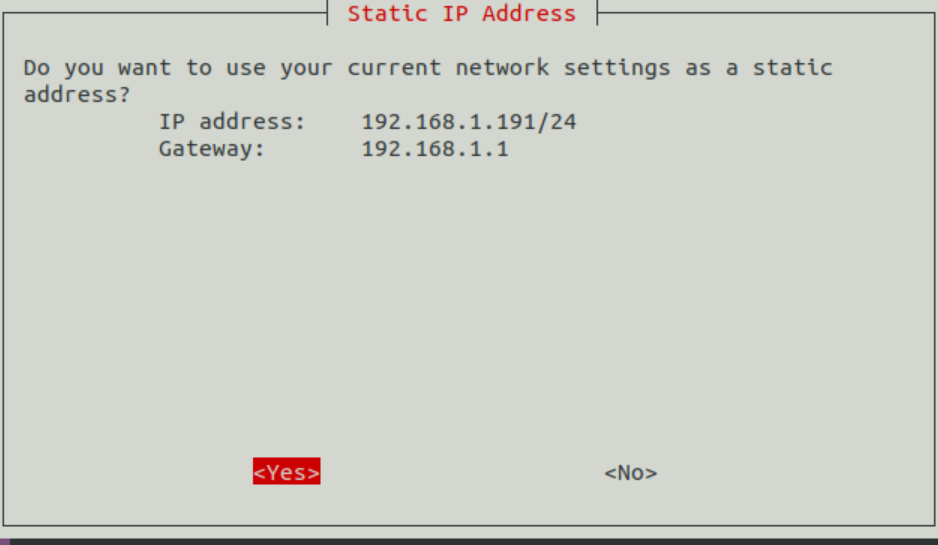
- Do you want to use your current network settings as a static address?
- Select No (my recommendation, as you always want to setup this yourself) (otherwise, you'll have problems later)
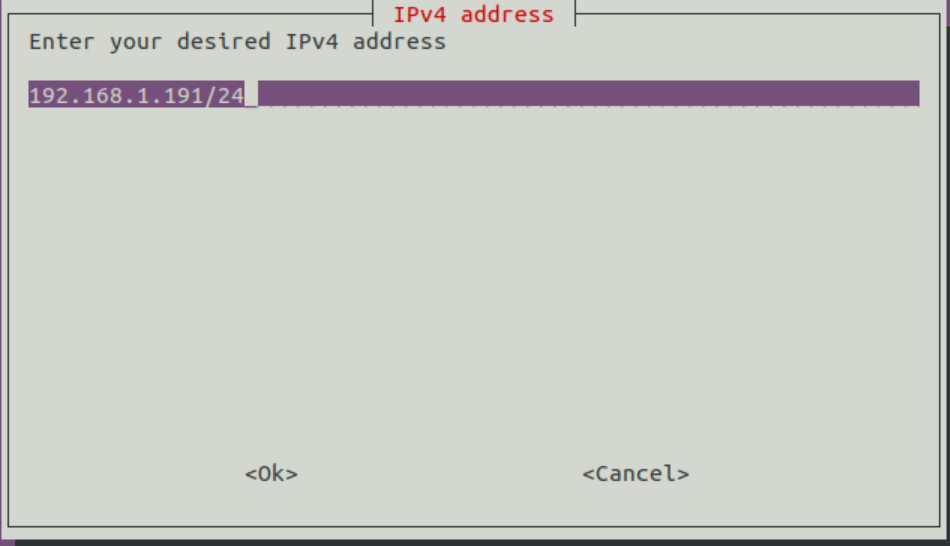
- I set up as
192.168.1.222/24
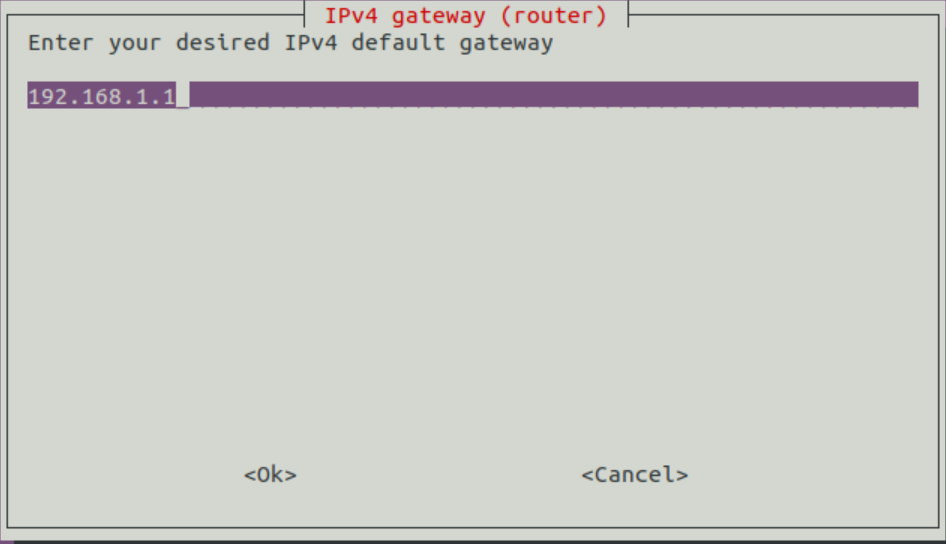
- Enter your desired IPv4 default gateway
- I use
192.168.1.1(where my firewall is) and left it as is.
- I use
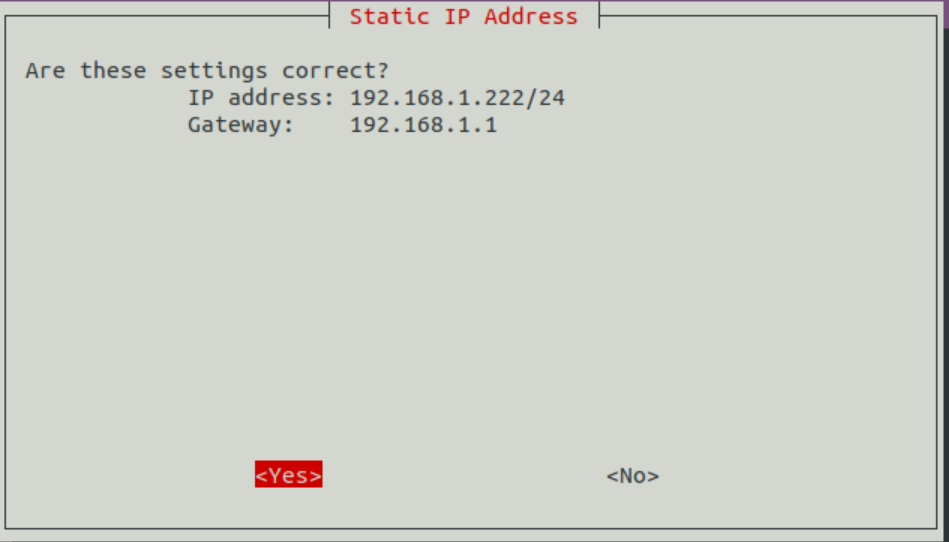
- Confirm static IP by selecting yes
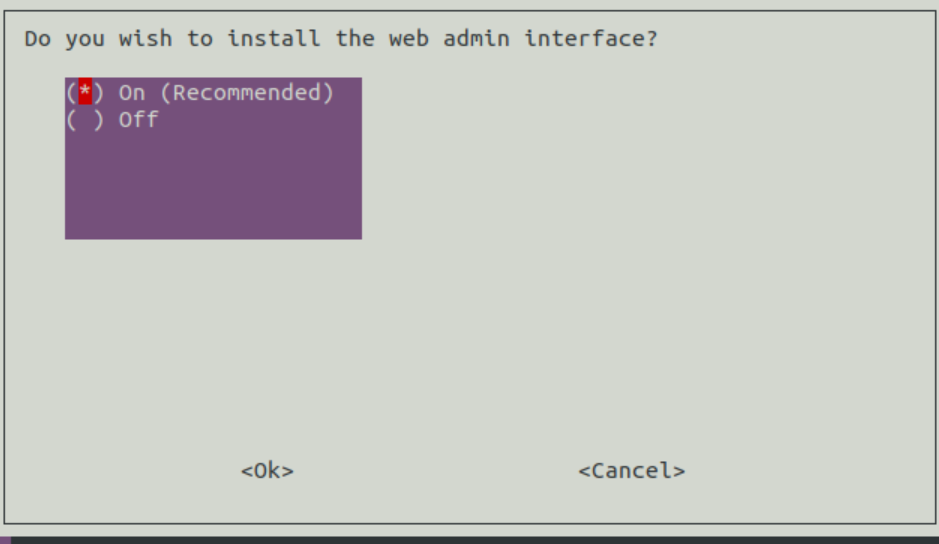
- Do you wish to install the web admin interface?
- Select ok (of course)
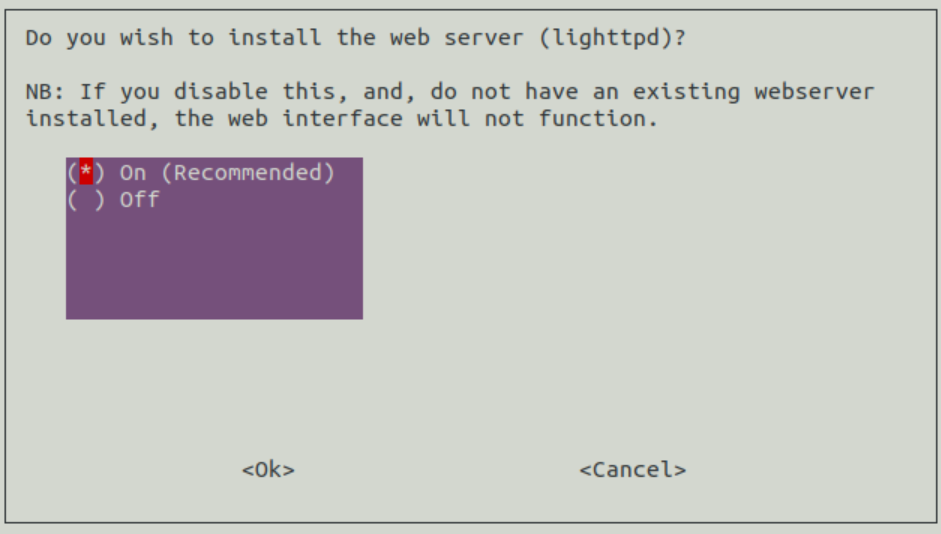
- Do you wish to install the web server (lighttpd)?
- Select ok (of course)
- Do you wish to log queries?
- Select ok (of course)
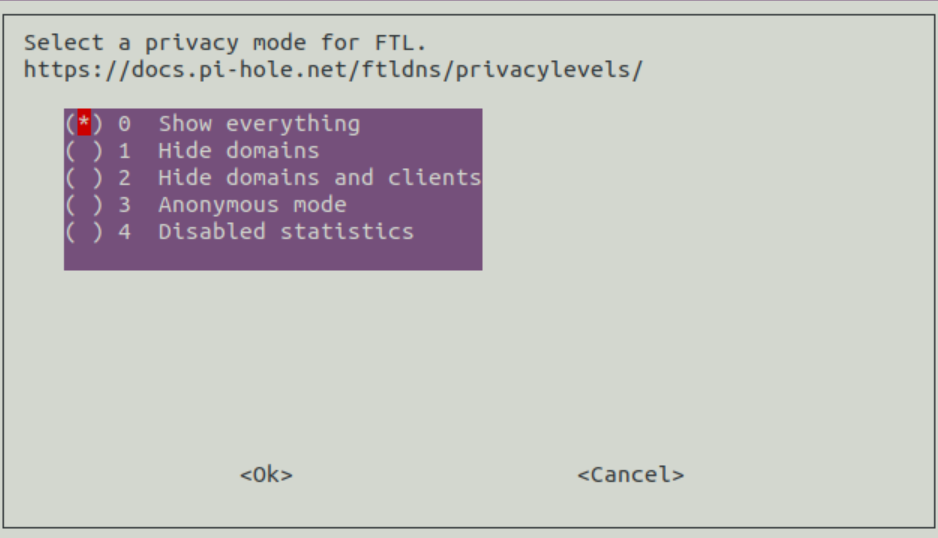
- Select Privacy Mode:
- Default: Show Everything
- Select ok
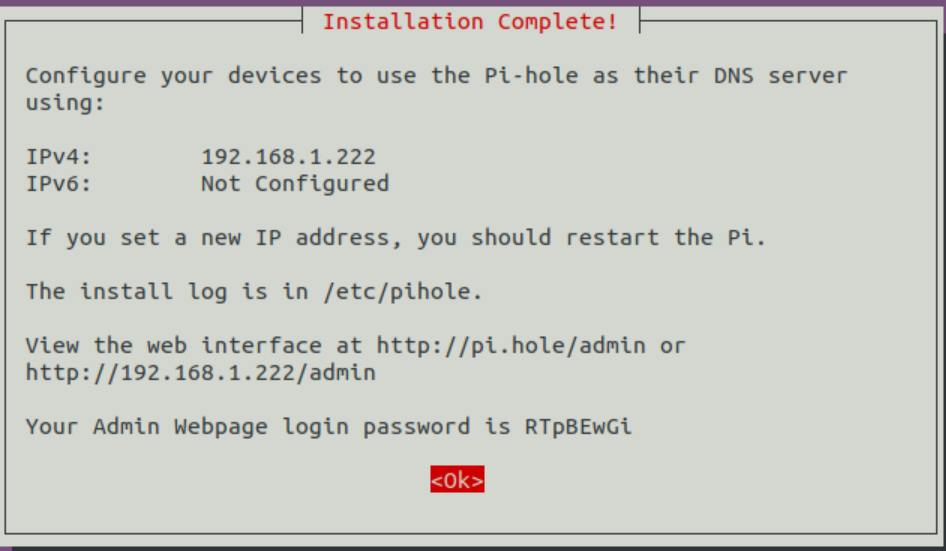
- Installation complete
- It will show you the password you need to use to login
- Select Ok


Change default password
To change the default password, run command:
pihole -a -p

Access Pihole dashboard
- Open Browser and type in:
- http://192.168.1.222/admin/
- Login with your new Password
Test your Pihole to make sure it's working
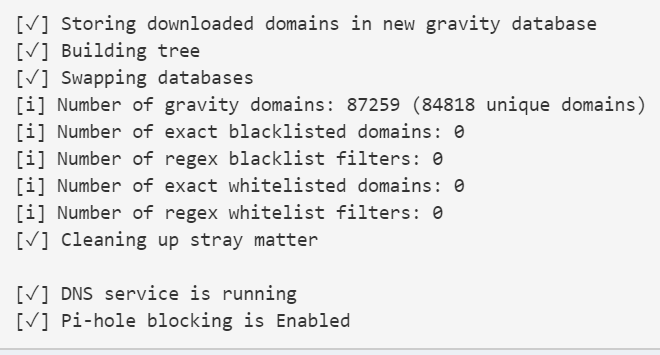
- Dashboard, Tools, Select Update Gravity, Select Update
- This will run scripts to pull the ad-list from the internet and add to your Pihole.
- You'll see if it worked.
- As you can see, the default list of ads have 84,818 unique domains in the Gravity list (aka the Pihole blacklist)
note
None of these ad-lists block adult websites (porn). There are specific ad-lists to block those.
Now, re-configure your clients (or firewall) to use this Pihole's IP as the DNS server.
- All clients who use Pihole as the DNS server, will be under the protection of Pihole, meaning most advertisements will be blocked.
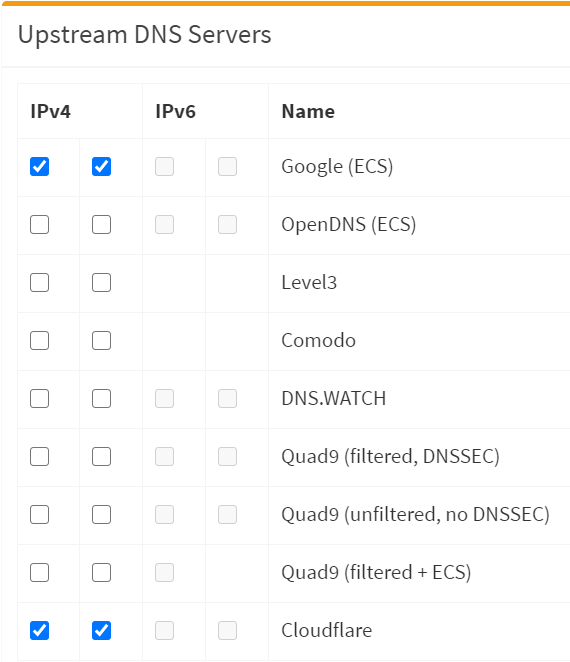
Customize the public DNS servers
The benefits of using multiple public DNS servers is redundancy.
- Dashboard, Settings, DNS Tab
- Enable Google (my recommendation)
- Enable Cloudflare (my recommendation)
Verify listening interface
- Under Interface listening behavior
- Select: Listen only on interface ens160
- Caution: If you set Listen on all interfaces, your Pihole won't work.
Add DNSSEC for added DNS security
- By default, Pihole doesnt enable DNSSEC.
- DNSSEC creates a secure domain name system by adding cryptographic signatures to existing DNS records.
- If you care about security and privacy, enable it.
- Dashboard, Settings, DNS Tab
- Enable Use DNSSEC
- Select Save

Ad-lists that are worth looking at
My recommendation is add lists from firebog.net. They have been around for several years and have a good community following.
My recommendations:
- If you're the type of user who just wants to set up Pihole and forget it, such that it works almost 100% of the time, and doesn't break any websites, which means you won't need to come back into Pihole to whitelist domains.
- If you're the type of user who wants the MORE protection/blocking of ads (than previously), and is SOMETIMES willing to come back into Pihole to whitelist domains when things are broken (meaning Pihole blocked something).
- If you're the type of user who wants the MAXIMUM protection/blocking of ads (than previously), and is ALWAYS willing to come back into Pihole to whitelist domains when things are broken (meaning Pihole blocked something).
caution
When I tried the maximum list, at least 5 things broke:
- Hotmail.com email account for mobile (unable to sync any emails)
- Evernote (completely down)
- Twitter (which blocked t.co and so any link on twitter were blocked)
- Skype partially broken (since one domain was blocked, I was unable to send/receive messages/pictures)
- One website's jquery scripts (which makes one website unusable)
As you can tell, you'll get several things broken, until you start to troubleshooting what things are broken, and then whitelist manually. I reverted back to tick list.
How to add more ad-lists to Pihole
- Let's say I chose the Firefog's ad-list:
- Open https://v.firebog.net/hosts/lists.php?type=tick
- Copy a url at a time (there are 34 lines)
- Pihole, Dashboard, Group Management, Ad-lists
- Address: Paste in one url at a time
- Pihole, Dashboard, Tools, Update Gravity
- Scroll down and you'll see how many got updated:
- 416,055 unique domains
- So your ad-list went from 84,818 to 416,055 domains (increased by 390%).
note
None of these ad-lists block adult websites (porn). There are specific ad-lists to block those.
Once you verified that everything is working, let's make a backup
- Backups are always good to have.
- Go to Settings, Teleporter, select Export (this will export ad-lists and your custom whitelists/blacklists)
Once a new version comes out, here's how to update Pihole
Pihole, terminal:
pihole -up
Conclusion